
Simpler Than You’d Think
Every Wellness sauna and ice bath is designed for straightforward setup at home, indoors or out. Whichever you are installing, here is what to expect and everything you need to get started. Pick your product below.
Simple to Set Up, Ready to Enjoy
Your Wellness sauna is designed for easy self-assembly at home. We ship it straight to your door, and with another adult to help, you can have it set up and ready to enjoy. Here is what to expect, and everything you need to get started.
Before You Start, You Will Need
A suitable spot: a level, dry floor. If the floor is damp, wait until it is completely dry before assembling.

Two adults. Assembly is a two-person job from start to finish.

A power drill or a Phillips-head screwdriver.

A 3-step ladder, or one of a similar height.

A dedicated 240V power socket, 10 amp for most models or 15 amp for the 3-4 Person Outdoor.
The Setup, Step by Step
Always follow the full installation guide for complete step-by-step instructions.
Choose Your Spot
Pick a level, dry location with easy access to a suitable power socket.
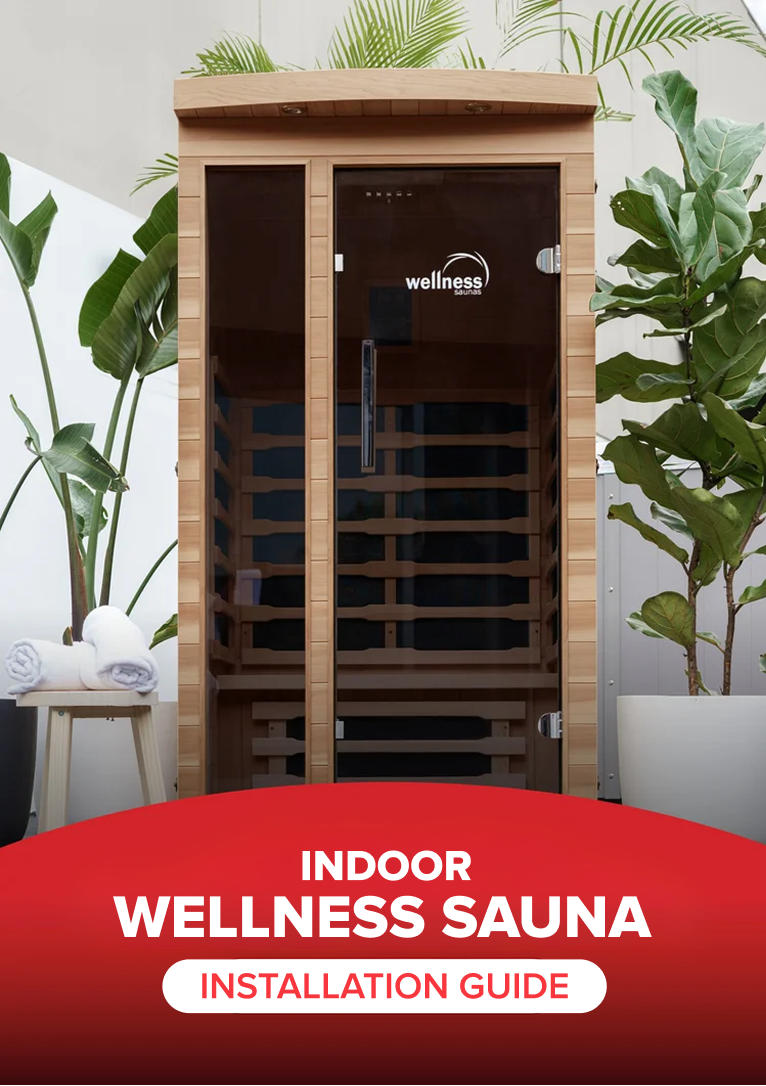
Watch the Self-Assembly Video
Follow along as we set up a Wellness sauna from start to finish.

Caring for Your Sauna
Keeping your sauna in great shape is simple, and a few small habits will keep it clean, hygienic and performing beautifully for years.

Before First Use
Wipe the interior down with a damp cloth. If you notice a strong smell at first, that is completely normal. Just leave the door open until it clears.

After Each Session
Lay a clean towel on the floor and bench to soak up perspiration, and give the interior a quick wipe if needed.

Cleaning the Exterior
Use a feather duster or a soft, scratch-resistant cloth. For stubborn marks, a damp cloth works well.

Scratches and Marks
Light scratches can be smoothed away with fine-grade sandpaper. To finish, you can seal the area with a wood preserver, wood oil or furniture polish.
Cannot find what you are looking for, or still deciding?
Our team is happy to help.
Plug In, Fill Up, Plunge
The Chill Master Pro is designed for plug and play installation, so you can bring cold therapy into your routine with ease. Whether you are setting up indoors or outdoors, here is what to expect and everything you need to get started.
Before You Start, You Will Need

A standard, dedicated 10 amp 240V power outlet.

A flat, stable surface able to take the weight of the filled unit.

Access to a clean water supply to fill the tub.

A WiFi network, if you would like to use the remote control features (optional).

Dimensions
2100mm (L) x 1100mm (W) x 750mm (H)

Capacity
630 litres

Weight Empty
Approximately 150kg
The Setup, Step by Step
Always follow the full installation guide for complete step-by-step instructions.
Position
Place the ice bath on a flat, stable surface near a suitable power outlet.
Connect Power
Plug the unit into a dedicated 10 amp 240V outlet.
Connect WiFi
Connect to your WiFi network to enable remote control, if you would like to use it.
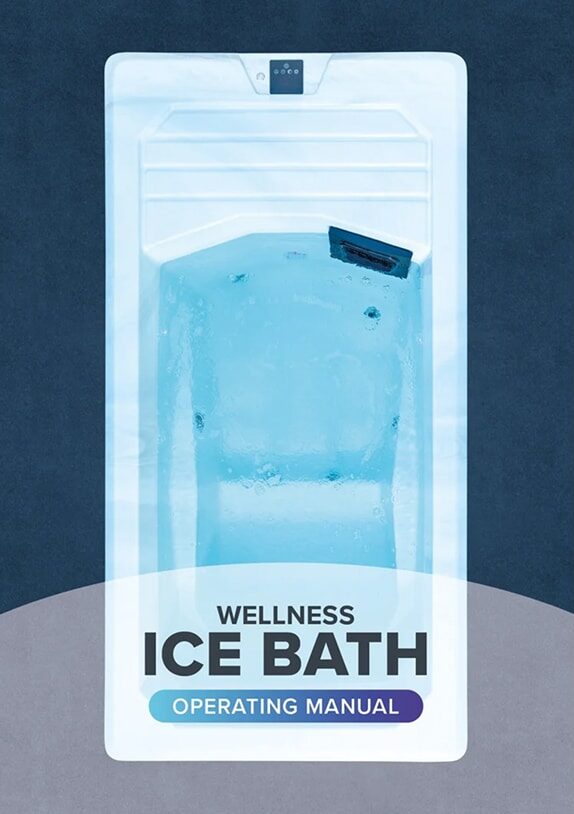
Watch the Installation Video
A visual walkthrough of setting up your ice bath.

Caring for Your Ice Bath
Caring for your ice bath is simple, and a little regular attention keeps it performing beautifully and feeling fresh every time you step in.

Weekly Cleaning
Wipe down the internal surfaces with a soft cloth and a gentle, non-abrasive cleaner to prevent build-up from body oils and debris. Avoid harsh chemicals that could affect the filtration system.

Water and Filtration
Make sure your Ozone/UV filters are functioning and test your water clarity. Change the water every 2-4 weeks according to use. You may also consider using a water sanitiser which is safe for spas.

pH Balance
Check the water pH weekly with test strips, aiming for a range between 7.2 and 7.6. Water that is too acidic or alkaline can affect comfort and the unit’s components.

Temperature
The built-in heat pump can control the temperature between 3 and 40 °C. Simply choose your desired temperature and allow the machine to regulate itself back to its normal state after cleaning or drainage.

Cover Protection
Always use the insulated hard cover when the ice bath is not in use. It reduces energy use, holds a stable temperature, and keeps out leaves, insects and dust.

Seasonal Care
If installed outdoors, keep the unit shaded and protected from extreme weather. If you are away for a while, drain it fully, wipe it down and disconnect the power to protect the components.